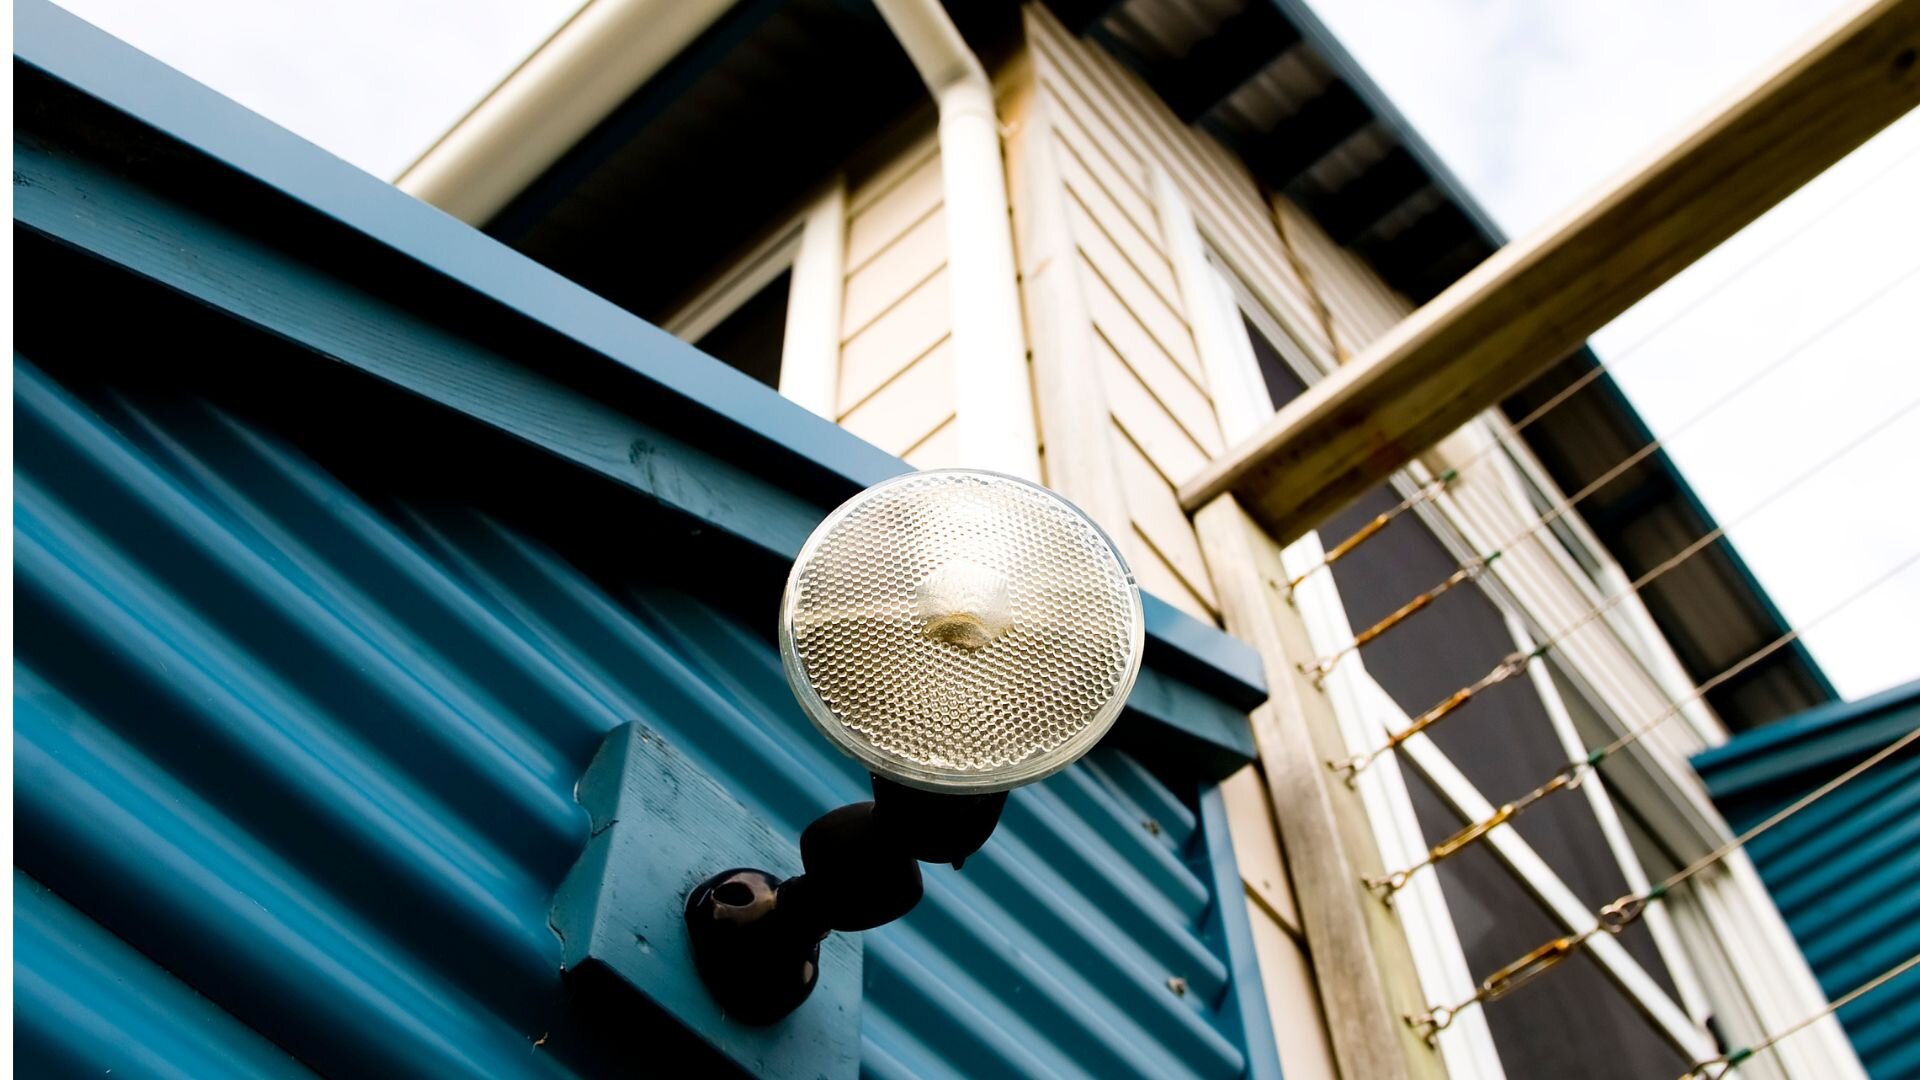
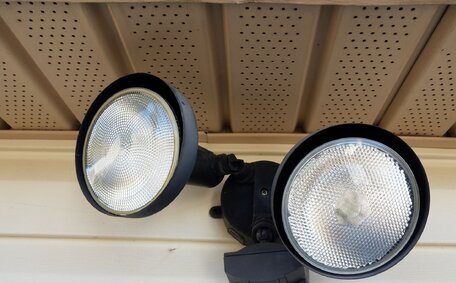
Did you know that motion sensor lighting can prevent up to 80 percent of opportunistic home invasions? It’s one of the simplest yet most effective ways to enhance security and convenience. Whether you’re stepping onto the driveway late at night or walking through a dark hallway, these smart lights respond when needed—no switch required.
But installing them isn’t just a matter of screwing in a bulb. It comes down to getting the placement right, choosing the correct sensor type, and adjusting the settings to suit your space. In this guide, we’ll walk you through everything—from picking the right light to setting it up properly—so you get practical, reliable, and long-lasting results.
Why Motion Sensor Lights Are More Than Just Security Add-Ons
While motion sensor lights are often considered a security feature, their value extends far beyond deterring intruders. These lights bring everyday convenience to homes and businesses alike. Imagine pulling into your driveway at night, and the path lights up instantly—no fumbling for switches or remote controls.
Consider warehouse walkways or back exits in commercial spaces that stay dark until someone walks through. This is a smart way to improve visibility without wasting electricity.
Motion sensor lighting is also playing a growing role in home automation. It responds to movement, conserving power by only turning on when needed. That means no more lights are left on accidentally, which helps reduce energy bills and carbon footprint.
Sensor lights are a simple upgrade for both residential and commercial settings that combine safety, smart living, and energy efficiency into one seamless solution.
![2025 04 Motion Sensor Lighting Shed Motion Sensor Lighting Shed]()
Choosing the Right Type of Motion Sensor Light
Before installing, it’s important to choose a motion sensor light that suits your space and purpose. Not all sensors function the same way, and the right fit can make all the difference.
Common sensor types:
- Passive Infrared (PIR): This type of light detects changes in heat from moving objects such as people or animals. It is ideal for residential areas like porches, hallways, and driveways.
- Microwave Sensors: Emit waves that reflect off moving objects. These can cover broader areas and even detect through thin walls, making them suitable for commercial settings.
- Dual Technology Sensors: Combine PIR and microwave capabilities to increase accuracy and reduce false activations.
Popular lighting styles:
- Wall-mounted lights: Great for entrances, patios, and external walls.
- Ceiling-mounted lights: Work well in garages, carports, and interiors.
- Floodlights: Ideal for large outdoor areas or driveways.
- Pathway or bollard lights: Useful for guiding movement through gardens or walkways.
Key features to look for:
- Adjustable sensitivity and timer settings
- Dusk-to-dawn sensors for automatic night-time activation
- Weather-resistant (IP-rated) designs for outdoor use
- Always check local building codes or strata rules to ensure compliance before installation
Planning Your Light Placement Like a Pro
Choosing the right spots is key to getting the most out of your motion sensor lights. Strategic placementensures your lights respond when they should and stay off when they shouldn’t.
Best Areas for Installation
- Entryways: Front and back doors are high-traffic zones that benefit from instant lighting.
- Driveways: Great for lighting up the area as you arrive home.
- Side paths: Often forgotten, these spaces are common access points.
- Backyards: Covers outdoor entertaining areas and sheds.
- Stairwells: Helps prevent trips and falls in low light.
Placement Tips That Work
- Avoid busy roads: Point sensors away from traffic to reduce false triggers.
- Angle downward: A downward tilt picks up motion more accurately at ground level.
- Mount at the right height: Keep the lights around 2.5 to 3 metres high for broader coverage.
- Use layout plans: Sketching a simple diagram helps map out blind spots and overlaps.
- Follow natural movement paths: Position lights where people naturally walk, from the driveway to the door or across a garden path.
Tools and Materials You’ll Need
Before starting the installation, make sure everything is ready to go. This will save time and help the job run smoothly from start to finish.
Essential tools:
- Drill
- Screwdriver
- Wire stripper
- Voltage tester
- Ladder
Safety gear:
- Insulated gloves
- Protective goggles
- Tools with rubber grips for added safety
Materials:
- Weatherproof mounting box
- Wiring connectors
- Screws
- Junction box
Always turn off the power at the mains before handling any electrical wiring. This step is crucial for your safety and should never be skipped.
Step-by-Step Guide to Installing Motion Sensor Lights
![2025 04 Outdoor Motion Sensor Lights Outdoor Motion Sensor Lights]()
Installing a motion sensor light can be straightforward when broken down into simple steps. Follow this guide to get it done safely and correctly.
Step 1: Turn off the power supply
Before touching any wires, switch off the power at the mains. Double-check with a voltage tester to confirm everything is off. Never skip this step.
Step 2: Mount the light fixture
Use a drill to attach the mounting bracket to the wall or ceiling. Make sure it’s secure and level. Avoid placing the light where it may be exposed to constant water spray or heavy weather.
Step 3: Connect the wiring—neutral, active, earth
Match the wires coming from your light to those in the junction box. Use wire connectors to join neutral to neutral, active to active, and earth to earth. If you’re unsure, contact a licensed electrician to check your setup.
Step 4: Secure the sensor and aim the detection angle
Tighten the sensor into place and angle it slightly downward, covering the area you want it to detect. Avoid pointing it at moving trees or streets.
Step 5: Adjust sensitivity and timer settings
You can set how long the light stays on after motion is detected and adjust the sensitivity so that it responds to people, not pets or passing cars.
Step 6: Restore power and test the setup
Turn the power back on, walk through the detection zone, and confirm everything’s working as expected. Make small adjustments as needed.
Common Mistakes to Avoid During Installation
Installing motion sensor lights might seem simple, but a few easy-to-miss errors can affect performance.
- One of the most common issues is mounting the sensor too high or too low, which can reduce coverage or cause constant triggering.
- Avoid aiming the sensor at heat sources like air vents or pool heaters, which can lead to false activations.
- Installing under deep eaves can block the detection field, reducing its effectiveness.
- When installing outside, always use lights designed for outdoor use and pay attention to IP ratings to ensure your fixture is properly protected against dust and water exposure.
How to Fine-Tune Your Sensor Light After Installation
Getting your sensor to light up and run is one thing, but keeping it working properly requires some fine-tuning and upkeep.
- Adjust sensitivity range to detect people without picking up small movements from pets or trees.
- Set the light duration so it stays on long enough to be useful without wasting energy.
- Tweak the detection angle to cover the right zones and avoid unwanted triggers.
- Limit false alarms by pointing away from roads, moving foliage, or reflective surfaces.
- Regular maintenance is done by cleaning the lens, checking seals, and testing the light every month.
When to Call a Licensed Electrician
Some motion sensor light installations are best left to the pros. If your setup involves complex wiring, high-voltage systems, or connecting multiple lights to a single sensor, bringing in a licensed electrician is safer. Australian electrical standards often require qualified professionals for specific tasks, especially when the work goes beyond basic fittings.
DIY jobs done incorrectly can result in fines, void warranties, or create insurance problems. Call an expert to avoid costly mistakes that could compromise safety or performance if in doubt.
See the Difference the Right Lighting Makes
Smart lighting is more than just a modern convenience—it’s a step toward a safer, more secure and comfortable space. A well-planned sensor light installation brings peace of mind, knowing your home or business is always lit when it matters most. Lighting should work for you, not the other way around. Switching on the light should never be a hassle—let your lights do the work for you.
For expert installation and advice in Sydney, Bright Force Electrical offers fast, reliable service backed by a fully licensed team. Contact ustoday for professional sensor lighting solutions that are done right.


