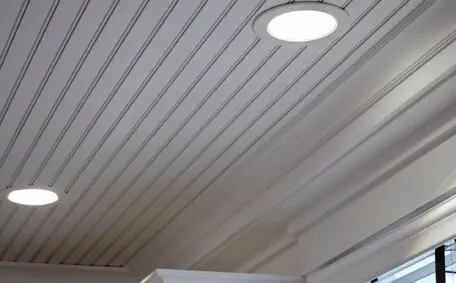
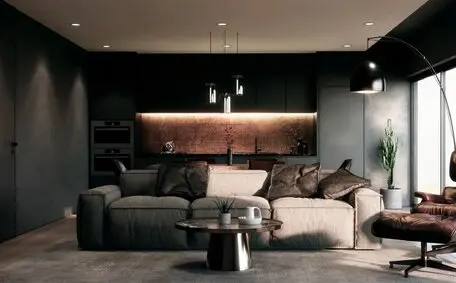
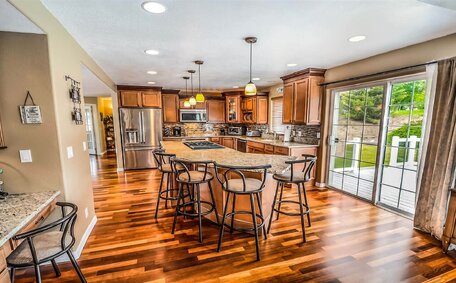
Downlights or recessed lights look pretty cool, don’t they?
One of the main reasons people nowadays choose recessed downlights for living rooms, bedrooms, kitchens, and even outdoor spaces is their sleek and modern appearance. Everyone loves that these lights seamlessly blend with the surroundings, providing clean and aesthetically pleasing outdoor lighting.
While we love the way downlights look, we also appreciate how they can light up a small room with low ceilings. Since so many people are installing them, we thought of sharing our two cents based on our extensive experience with downlights.
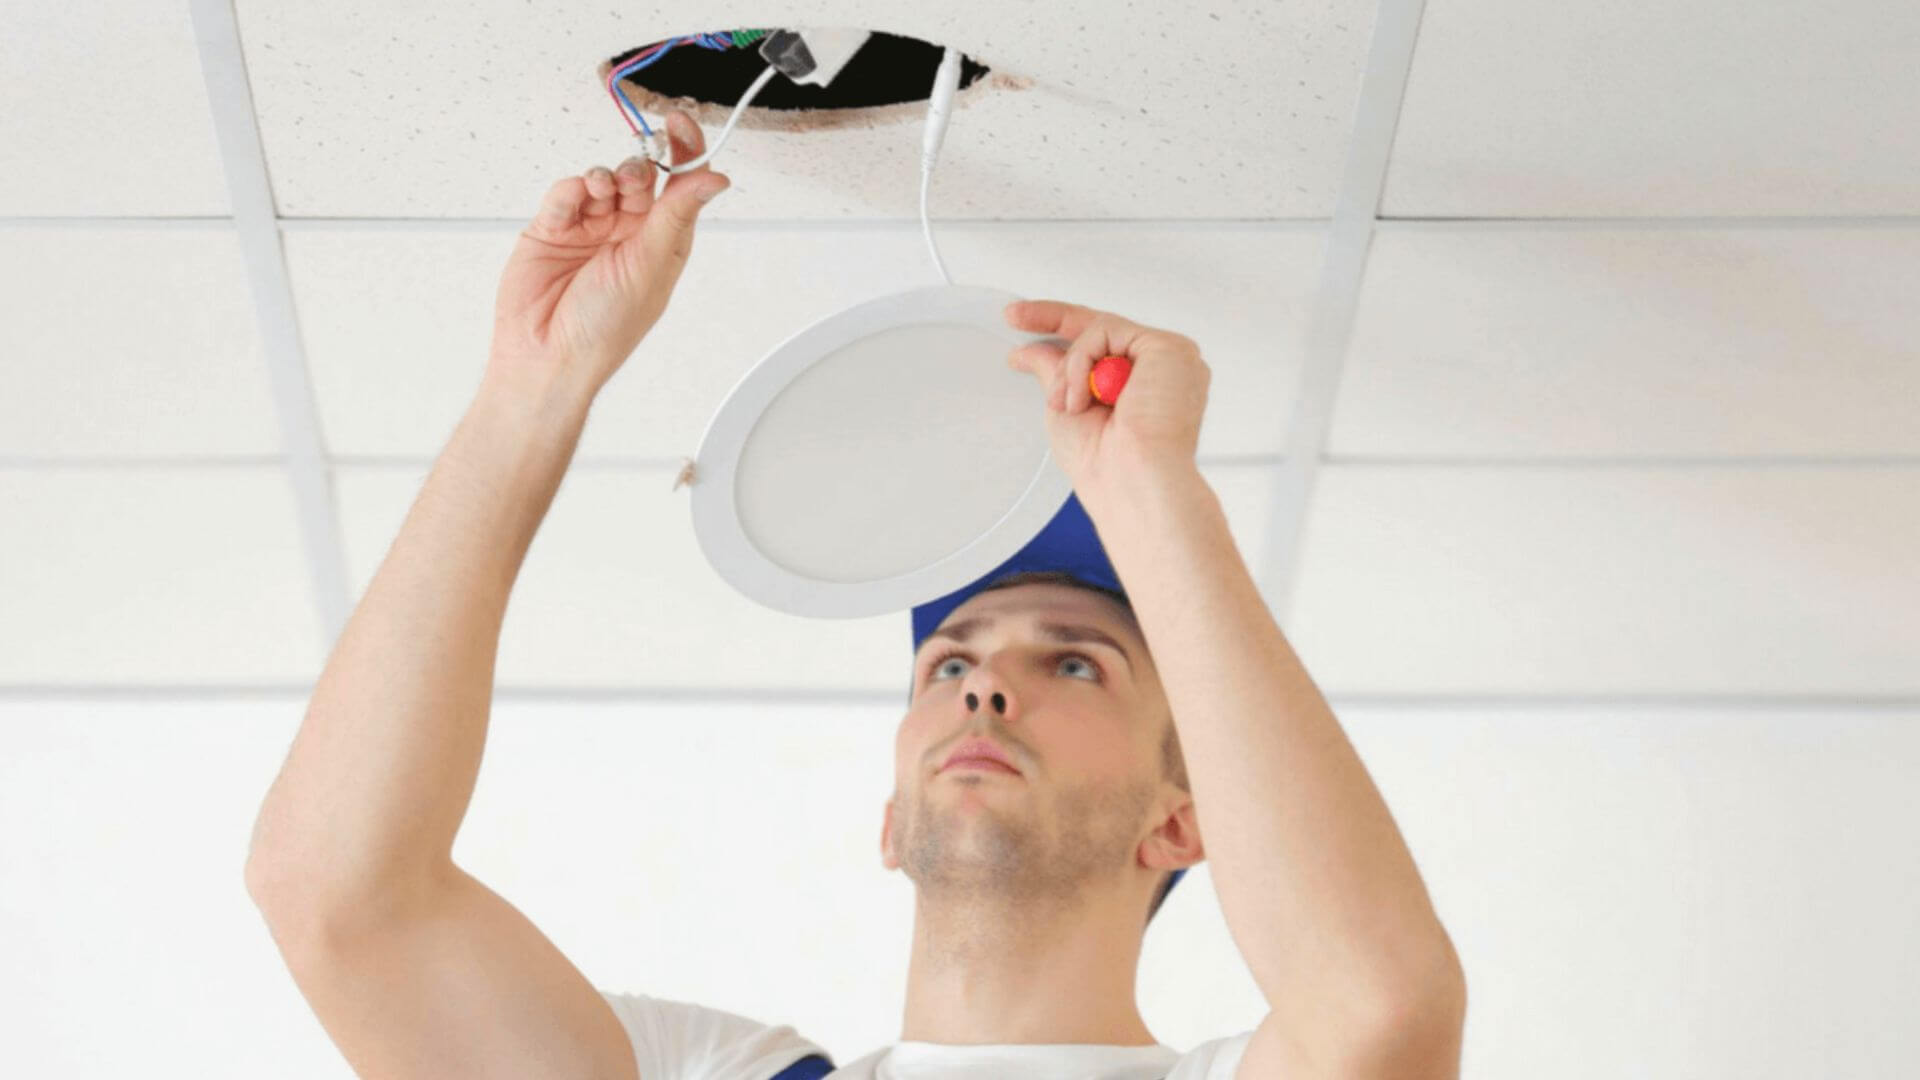
![Electrician Installing Large Downlight Electrician Installing Large Downlight]()
But before we share the top five tips for installing them, check out the essential factors to consider before the installation process.
Things To Consider Before Installing Downlights
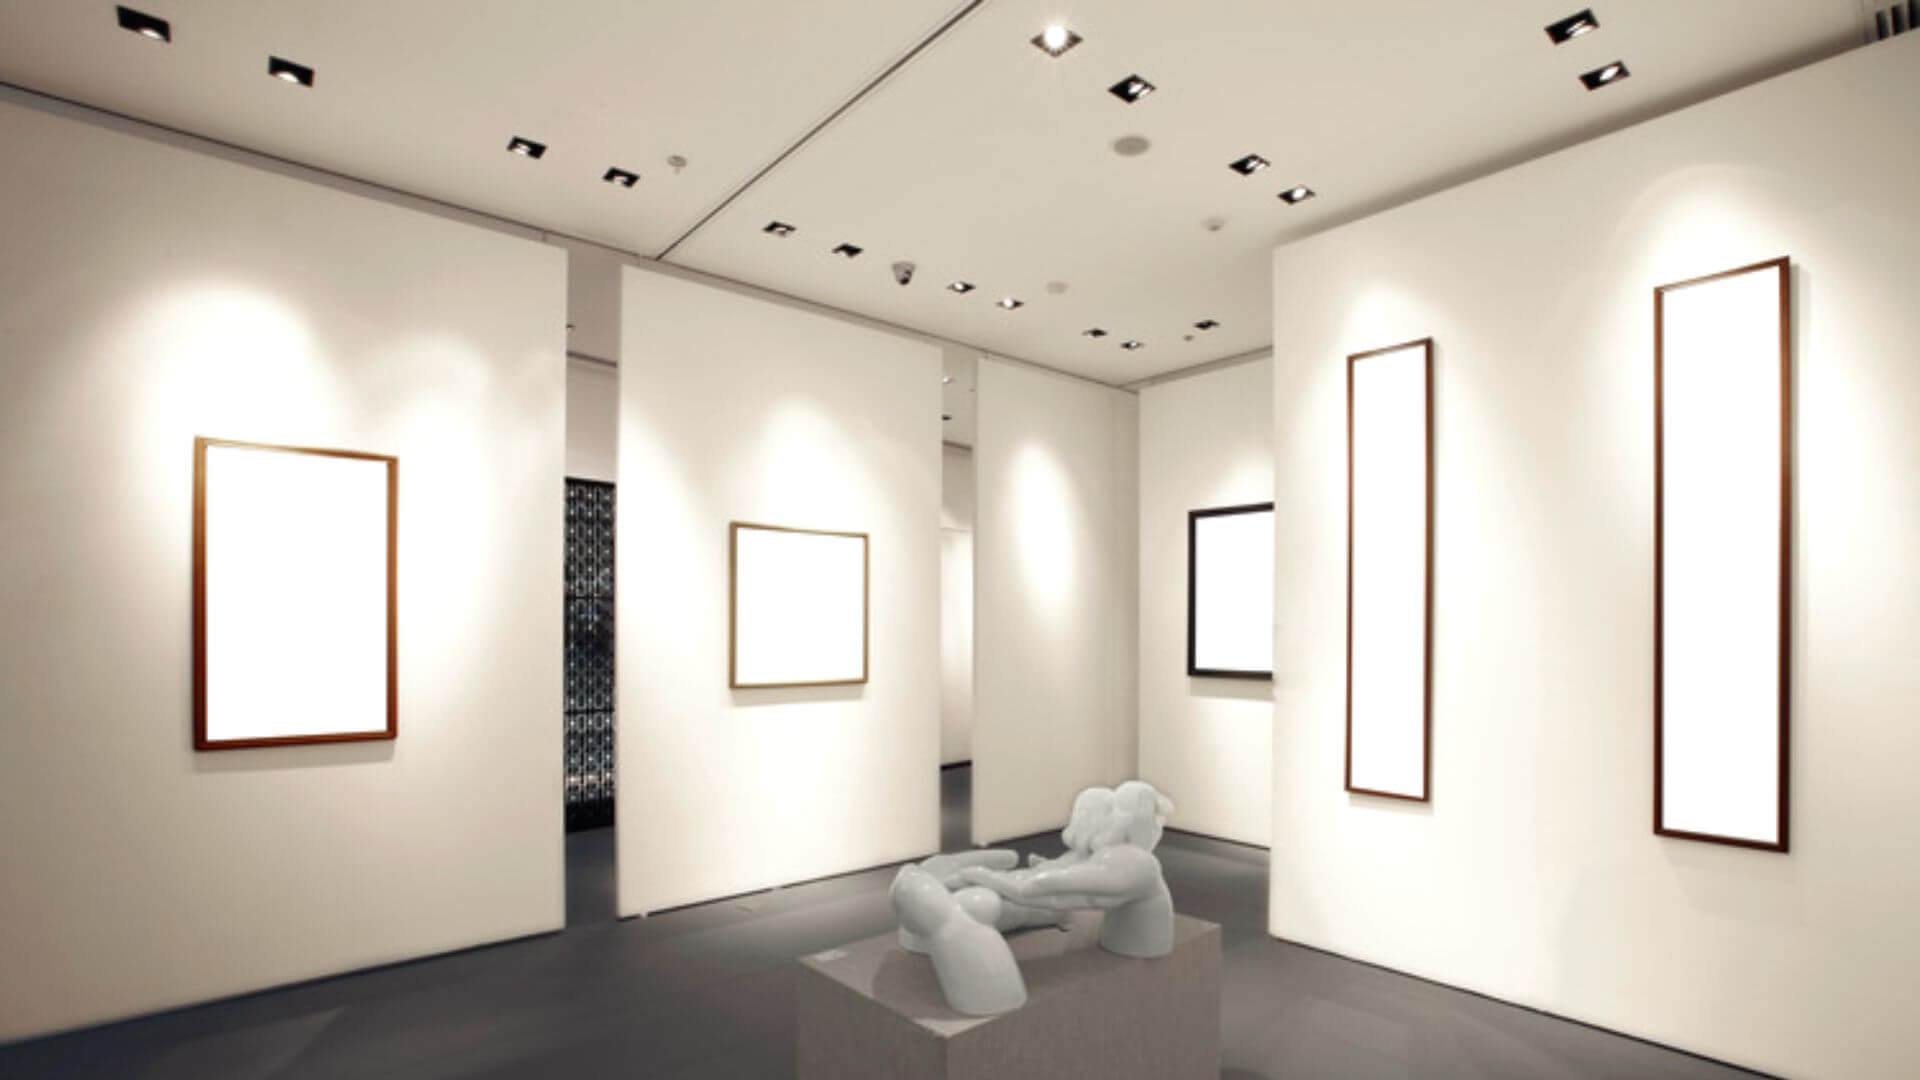
![Downlights Used In Museum Downlights Museum]()
1. The Basics
When planning to install downlights, think about the room size, area depth, and ceiling height. An open-space room, unlike a standard room, might require more lighting to keep the floor bright and vibrant. It’s essential to tailor your approach based on these factors.
Additionally, consider how frequently you’ll use the room. Some areas might need extra lighting compared to others, so planning accordingly is crucial to achieving the right ambience.
2. Calculate The Wattage
Once you know the wattage required to light up a room successfully, you will know how many LED downlights to buy. To find out the wattage of any space, multiply the square foot area by 1.5. For example, if a room is 16 feet x 17 feet, the total square footage equals 272.
Now, when you multiply 272 by 1.5, you get 408. To get a rough idea of the number of LED lights or LED bulbs to buy, divide this number by the bulb wattage you will use for the room.
When upgrading your lighting, consider switching to LED downlights. They offer the same amount of light as traditional ceiling lights but consume less energy. By upgrading to LEDs, you can enjoy efficient and cost-effective lighting solutions.
Determining the distance between your LED downlights involves understanding their beam angle and luminous flux. The beam angle shows how the light spreads, while luminous flux, measured in lumens, represents the total light a lamp emits.
Now, let’s get into the five most important tips to keep in mind while installing LED downlights in any part of the house-
5 Top Tips For Installing Downlights
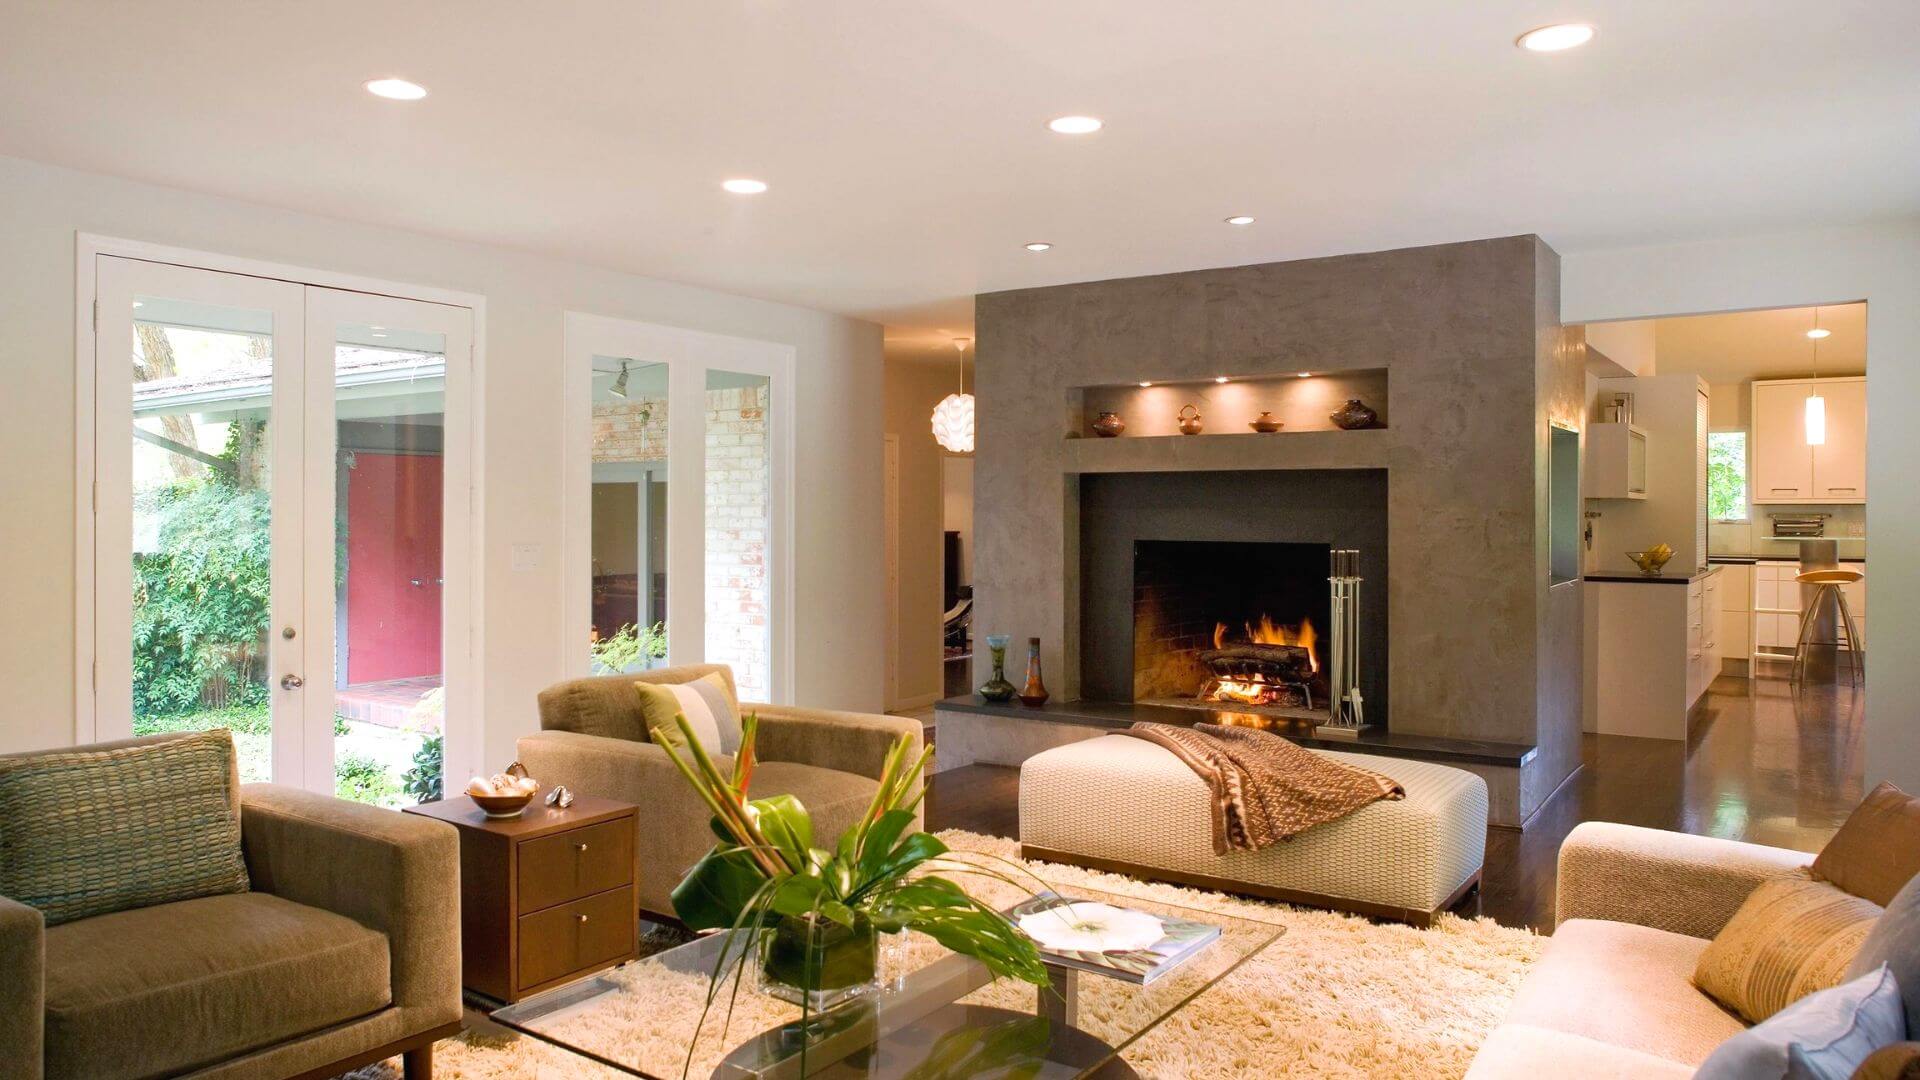
![Downlights Used In Residential Home Downlights Residential Home]()
1. Right Spacing
One crucial tip is ensuring you space the lights correctly, which is even more important than with incandescent bulbs. We’ve encountered numerous DIY installations where the sense of balance was completely missing because of incorrect spacing.
By 'sense of space,' we mean ensuring lights are evenly aligned with appropriate spacing. This alignment ensures the room feels balanced and harmonious, no matter the number of lights used.
We suggest placing the downlights approximately two feet away from the walls. Once all the lights are distanced appropriately, there will be no unwanted shadows in any corner of the room.
2. Experiment With Accent Lighting
Remember that you can always use angles to enhance specific areas of the room. Placing downlights so that it throws focus on one element of the room looks appealing, so don’t hesitate to try that out. For instance, the kitchen could have a downlight in the prep area so that tasks like cutting and cooking have extra light.
Depending on the task, the installation will become easier if you already have an idea of where the downlights will go. Make it a point to try all possible beam angles to get the most flattering angle for your room.
3. Interest And Depth Using Placement
While accent lighting will help you focus on some parts of the room, you can change it up to create depth. A pooling effect is a great way to add more interest and contrast to a plain space. This effect is created by adjusting two beam angles close to each other with solid lighting and placing them in the same or different directions.
Try the pooling effect to see all kinds of shadows and contrasts you can create without any extra costs. Remember, the ceiling height also matters in terms of depth and the sharpness of light. When the light falls on the floor or objects, it is usually cone-shaped and will reach a diameter of around 30 inches.
If you have a low ceiling, extra downlights may be necessary to keep the place well-lit. With higher ceilings, fewer lights with brighter wattage will be a better choice.
Surface downlights are often used in homes or commercial spaces where recessed lighting cannot be installed. This could be the case if your home has a concrete ceiling. After installation, the body of the downlight will be clearly visible.
4. Dimmable Downlights
One remarkable thing about downlights is that you can try a number of colours and brightness options to match the room’s mood. And if you can arrange the lights to a flexible setting so they can dim down when required, there’s nothing else like it.
So, decide whether you want to stick to cool white tones or soft yellow lights so that they match the overall theme. Once that is fixed and the dimmable lights are installed, you can alter the LED lighting to get a different vibe each time.
In an open floor plan, dimmer switches offer the flexibility to adjust only certain lights, giving you precise control over the atmosphere.
5. Try The Wall Washing Technique
Wall washing is a creative technique that allows you to create points of interest in some corners of the room. You can achieve this look by installing low-glare lights along a wall in intervals, with the difference that they will be closer to the wall.
Using this technique, you will be washing the wall with extra light to create unique designs that attract attention.
Even if you do not want to spotlight any particular object, you can use them to improve the ambience.
Things To Know Before Installing Downlights!
Downlights are ideal if you want a sleek, minimalist look or prefer to have lights attached to the ceiling. They do not have visible fixtures, and there is no need to spend time cleaning them frequently.
Installing them is pretty straightforward, and if you follow these tips, you’ll have a lovely arrangement that looks balanced with the rest of the house. You might not want to go back to regular lighting fixtures that need constant replacements!
If you are looking to improve your home’s lighting, consider installing downlights. They are a great option to enhance the ambience and functionality of your living spaces. If you need assistance with installing downlights in Sydney, the experienced team at Bright Force Electrical is here to help. Reach out to us, and let us help you achieve the perfect lighting for your home.
That wraps up our guide for now. Until next time, happy lighting!
