Creating the Ideal Viewing Height for Your TV
Struggling with neck strain or glare while watching TV? The right screen height makes all the difference. Learn how to position your TV for the best viewing experience.
Read MoreDid you knowpoor viewing angles can really affect your enjoyment of your home theatre? They can reduce screen clarity and make things uncomfortable. To get the best experience, it’s not just about splurging on top-notch tech. Understanding where to sit, where to place the screen, and how to design the room all contribute to a truly immersive setup.
Perfecting these elements is essential whether you’re hosting a movie night or catching up on your favourite series. This guide will delve into the importance of viewing angles and provide expert insights to help you design a home theatre space that enhances every moment on screen.
Your viewing angle is simply your seat position relative to the screen, measured from the centre. It’s critical for home entertainment as it influences image clarity, color accuracy, and comfort. Sitting too far to one side can warp visuals, lessen brightness, or affect the overall immersion.
Getting the screen positioning right is vital for a good viewing experience. If the screen is too high, too low, or off-centre, it can cause eye or neck strain. The distance from your seating to the screen is also crucial. For example, sitting too close might cause pixelation on big screens, while sitting too far can make high-definition content less impactful.
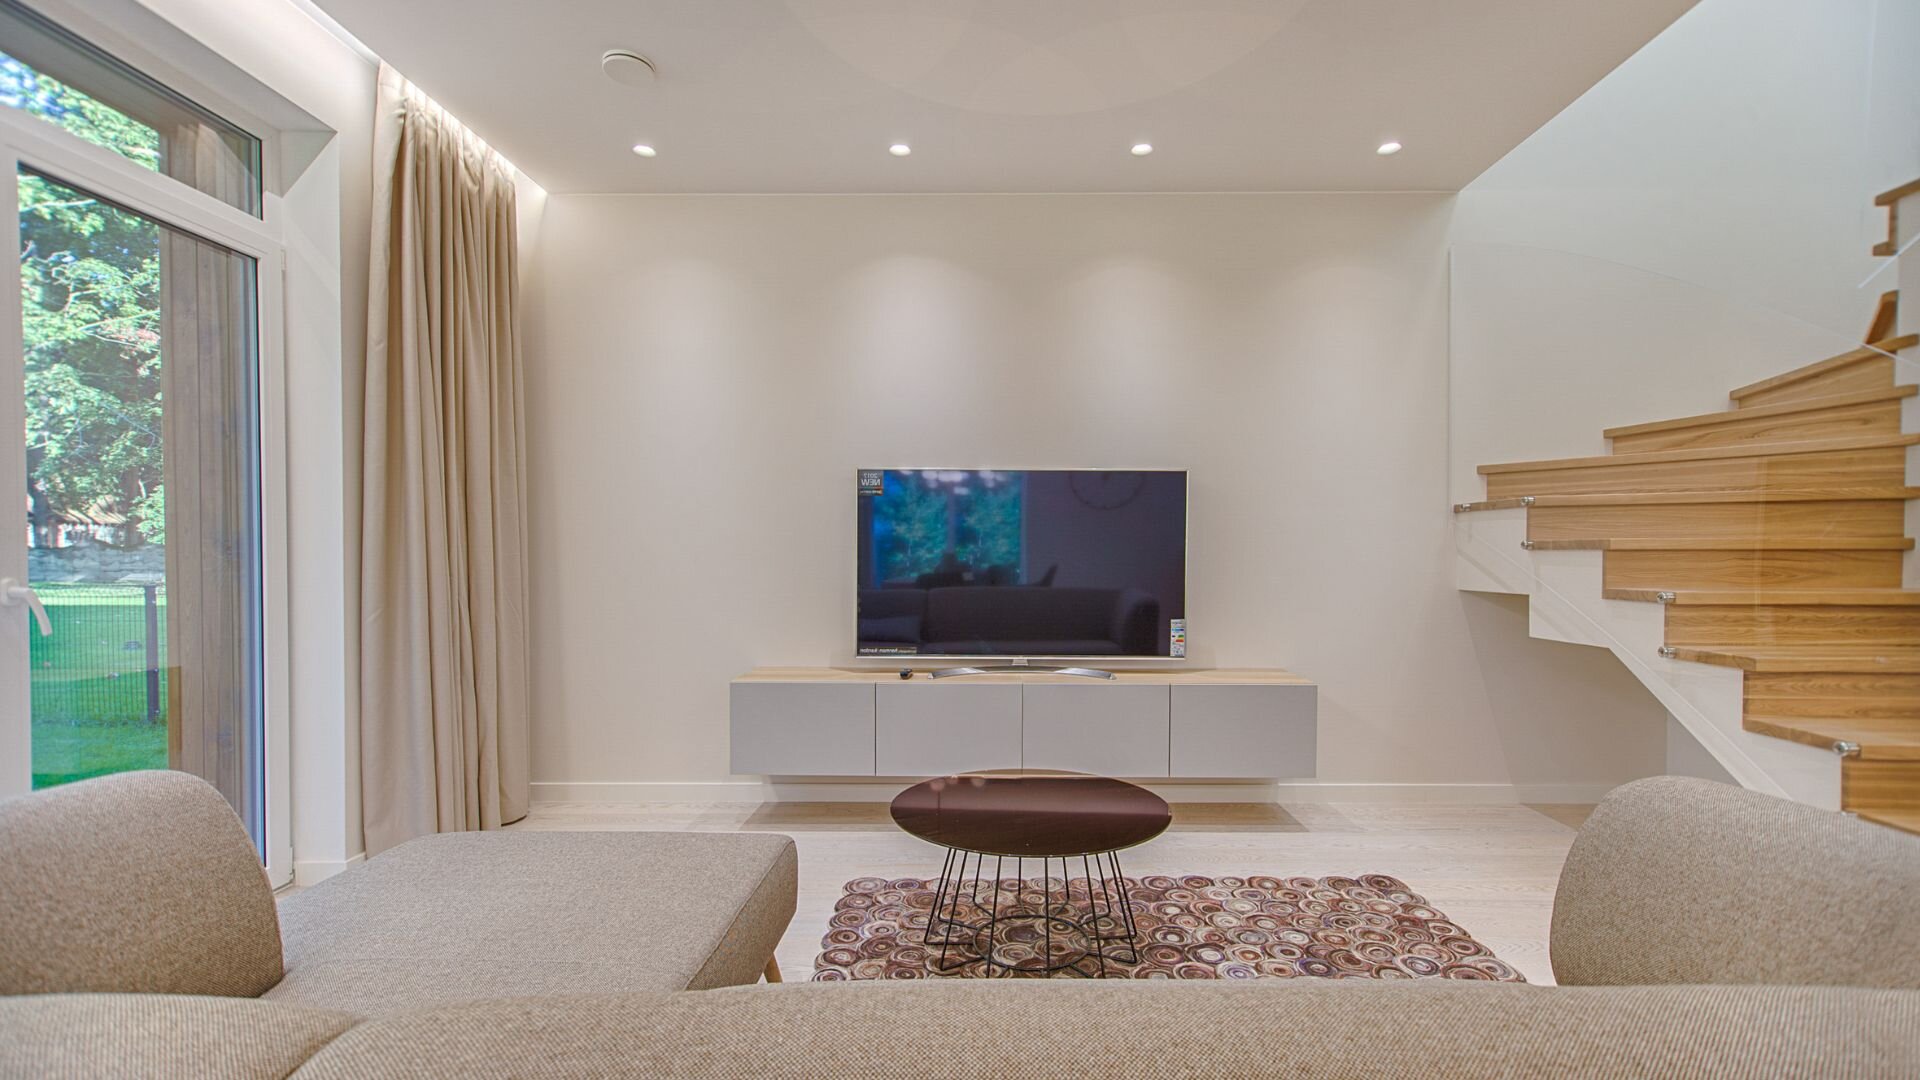
The relationship between screen size, room dimensions, and seating placement must be carefully balanced. Larger screens typically require more distance to maintain clarity, while smaller screens suit shorter viewing distances. The size and shape of the room also influence how seating can be arranged to ensure all viewers have a clear view of the screen. A thorough understanding of these factors provides a comfortable and visually pleasing home theatre experience.
How far your seating is from the screen can make or break picture quality and comfort. According to the Society of Motion Picture and Television Engineers (SMPTE), the ideal distance is where the screen covers about 30 degrees of your view. This setup ensures detailed visuals without straining your eyes.
The general rule for a standard high-definition TV is to sit about 1.5 to 2.5 times the diagonal screen size. For example, a 50-inch TV is best viewed from 2 to 3.3 metres away. With 4K Ultra HD TVs, you can sit closer, roughly 1 to 1.5 times the screen size, as the higher resolution allows for more detailed images without pixelation. Sitting too close can result in eye fatigue and an overly intense viewing experience while sitting too far diminishes the screen’s impact and detail.
| Screen Size (inches) | HD Viewing Distance (metres) | 4k Viewing Distance (metres) |
| 40 | 1.5 - 2.5 | 1.0 -1.5 |
| 50 | 2.0 - 3.3 | 1.3 - 1.9 |
| 65 | 2.7 - 4.1 | 1.7 - 2.5 |
| 75 | 3.0 - 4.7 | 1.9 - 2.9 |
Having your screen’s centre at eye level is crucial for a cosy, immersive viewing experience. This alignment keeps your gaze neutral and minimises head or neck strain. If the screen’s too high or low, you might experience discomfort, fatigue, or even long-term posture problems during those long movie marathons.
Incorrect alignment can also affect visual perception. Looking up or down at a screen for prolonged periods can distort the image and reduce the viewing quality, particularly in large displays or curved screens designed for optimal eye-line angles. Proper placement enhances both comfort and the clarity of the visuals.
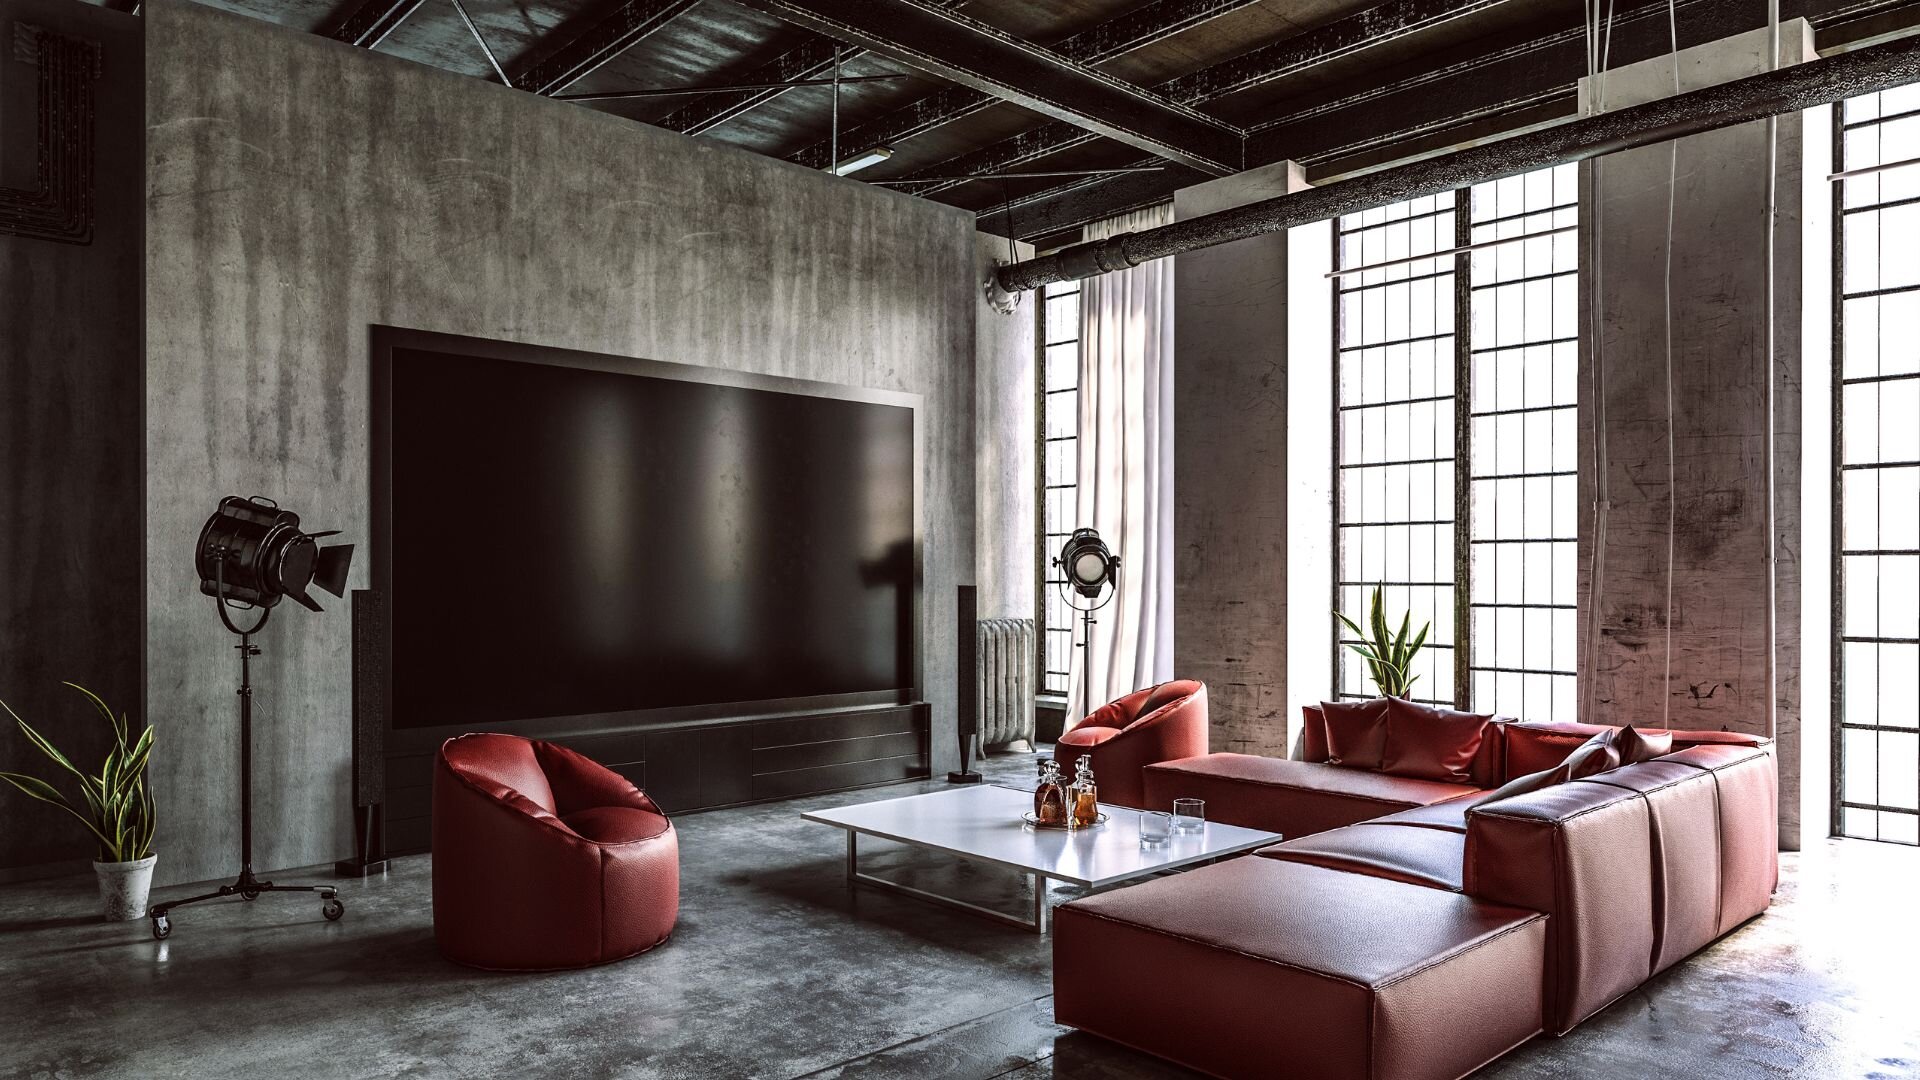
Measure your seating height: The average seated eye level is 90-110 cm from the floor. Use this as a baseline.
Careful consideration of screen height ensures a relaxed, ergonomic viewing experience for everyone in the room.
Your seating layout is key to making the most out of your home theatre. In smaller, rectangular spaces, a single row of seats directly in front of the screen works well to ensure everyone enjoys an optimal view. For bigger or wider rooms, consider multiple rows or staggered seating to maintain good visibility for all viewers.
Curved seating arrangements really come in handy for larger spaces with several rows. This setup allows more seats to be positioned evenly from the screen, ensuring better angles for side seats. Plus, it boosts immersion by lining viewers up with the natural curve of their vision.
A well-planned seating layout ensures that every viewer enjoys a consistent and comfortable viewing experience.
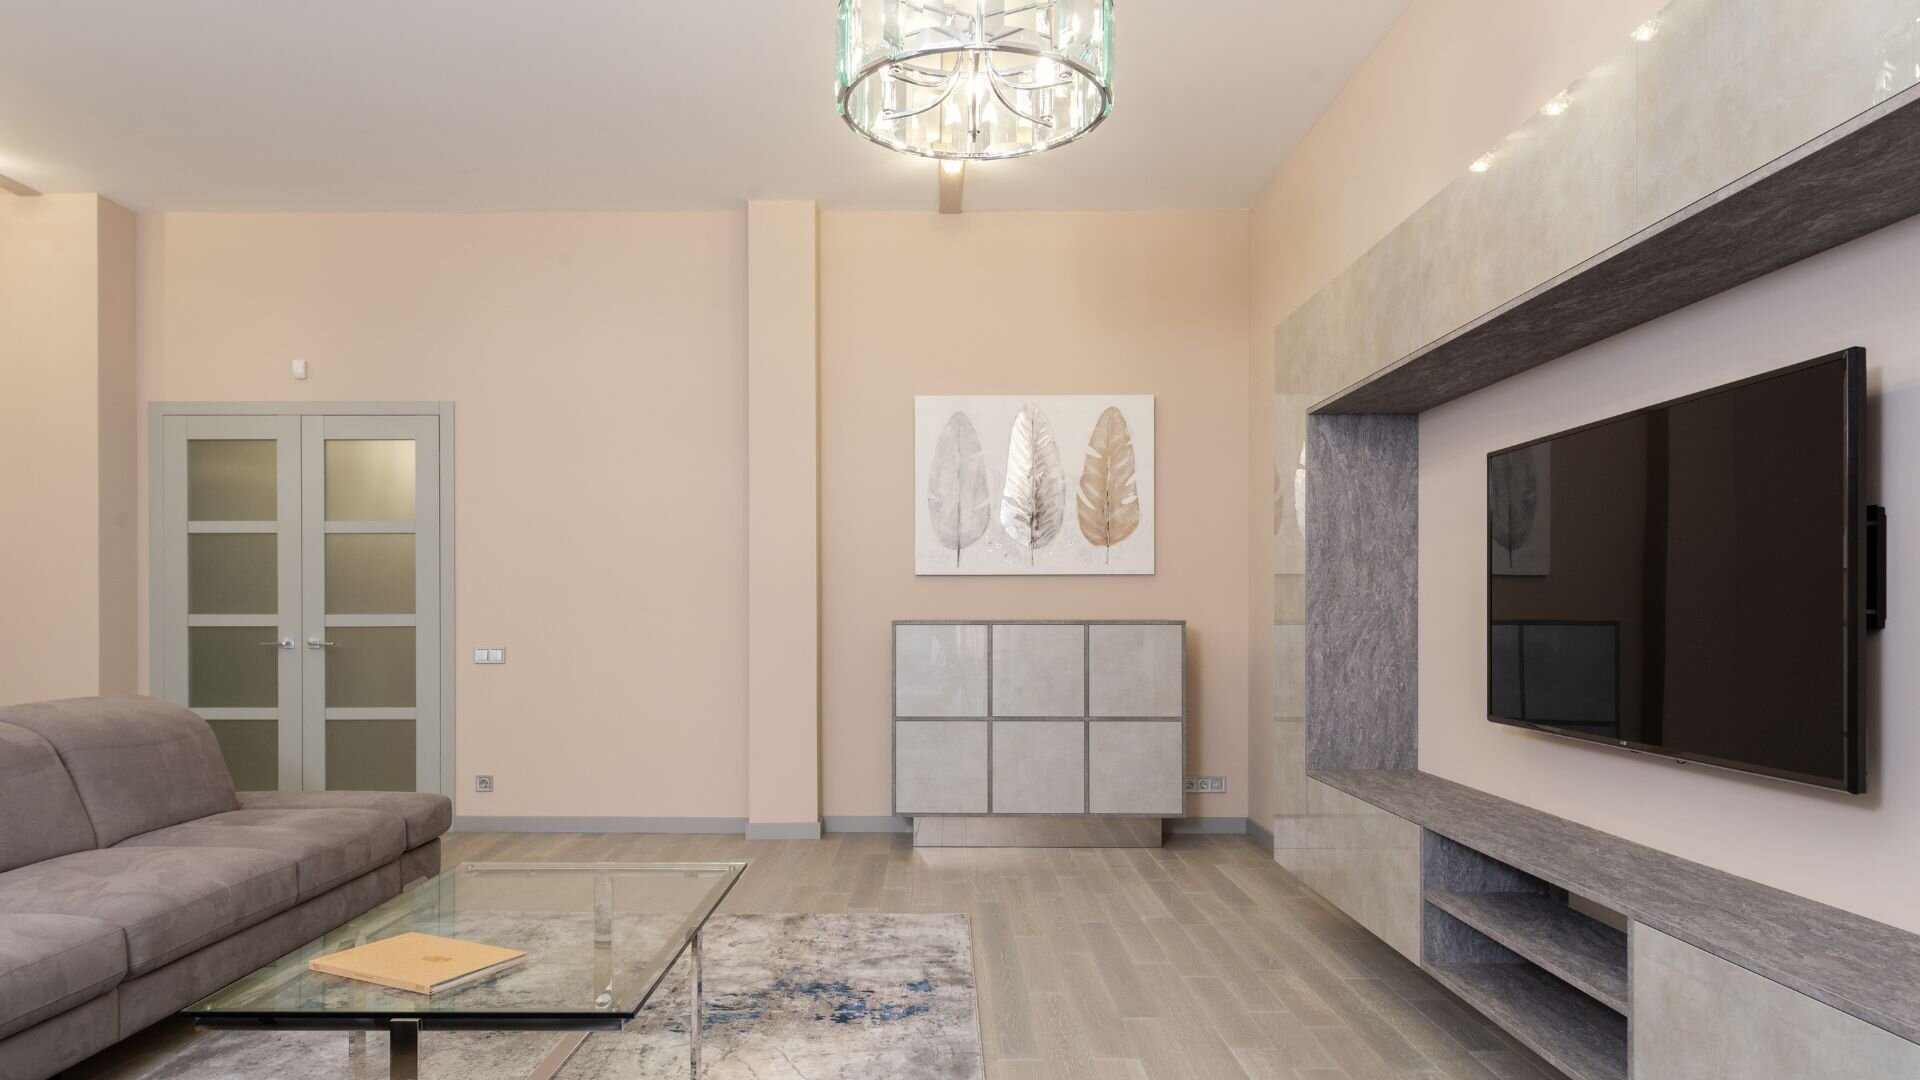
Ambient lighting is crucial for clear screen visibility and good image quality. Too much light can lead to glare and reflections on your screen, washing out the colours and reducing contrast.
On the other hand, a completely dark room can strain the eyes due to the screen’s stark brightness compared to the surroundings. Balanced lighting is key to achieving an optimal viewing experience.
Blackout curtains are crucial for controlling natural light during the day, preventing glare and maintaining consistent image quality. Dimmable lights allow for customisable ambient lighting, ensuring a comfortable and visually pleasing home theatre environment.
Wall-mounted TVs save space and provide a clean, modern look. They allow for flexible positioning, such as placing the screen at eye level or tilting it downward for higher installations. However, wall mounting requires precise measurements and sturdy wall support, which may not suit all room layouts or renters.
Stand-mounted TVs are easier to set up and can be moved or repositioned more readily. They often include built-in storage for media devices but may take up valuable floor space and offer less flexibility in height and angle adjustments.
Mounts with adjustable angles, such as tilting or full-motion brackets, are ideal for customising the screen’s position. These mounts help reduce glare and ensure the screen is aligned with the viewer’s line of sight.
Building the ultimate home theatre starts with careful planning and precision. From getting the screen position just right to nailing the perfect seating layout and lighting, every little detail plays a part in creating that immersive experience you’re after.
Bright Force Electrical specialises in professional TV installation services, ensuring your setup is seamlessly tailored to your space. Let us help you turn your home entertainment vision into reality with expert guidance and flawless execution. Contact us today and elevate your viewing experience.
Did you enjoy reading our article “Optimal Viewing Angles for Home Theatre Systems”? We have many related articles you may also be interested in reading, like the below:
Struggling with neck strain or glare while watching TV? The right screen height makes all the difference. Learn how to position your TV for the best viewing experience.
Read MoreSetting up a home entertainment system can be challenging, with various technical issues potentially complicating the process. This guide covers common installation problems and provides practical solutions, helping you enjoy a seamless experience without unnecessary stress.
Read MoreIntegrating your TV with a home automation system brings a new level of convenience and control. Imagine effortlessly adjusting your lights, sound, and entertainment settings from a single device. This guide explores the benefits of integrating TV installation with home automation and shows how it can make your entertainment experience more immersive and your home smarter.
Read MoreWe will call back as soon as possible.
